Posted by Matt Rice on Feb 12th 2024
Ultimate Guide: How to Remove Iron Sights on AR-15 Including A2 Front Sight
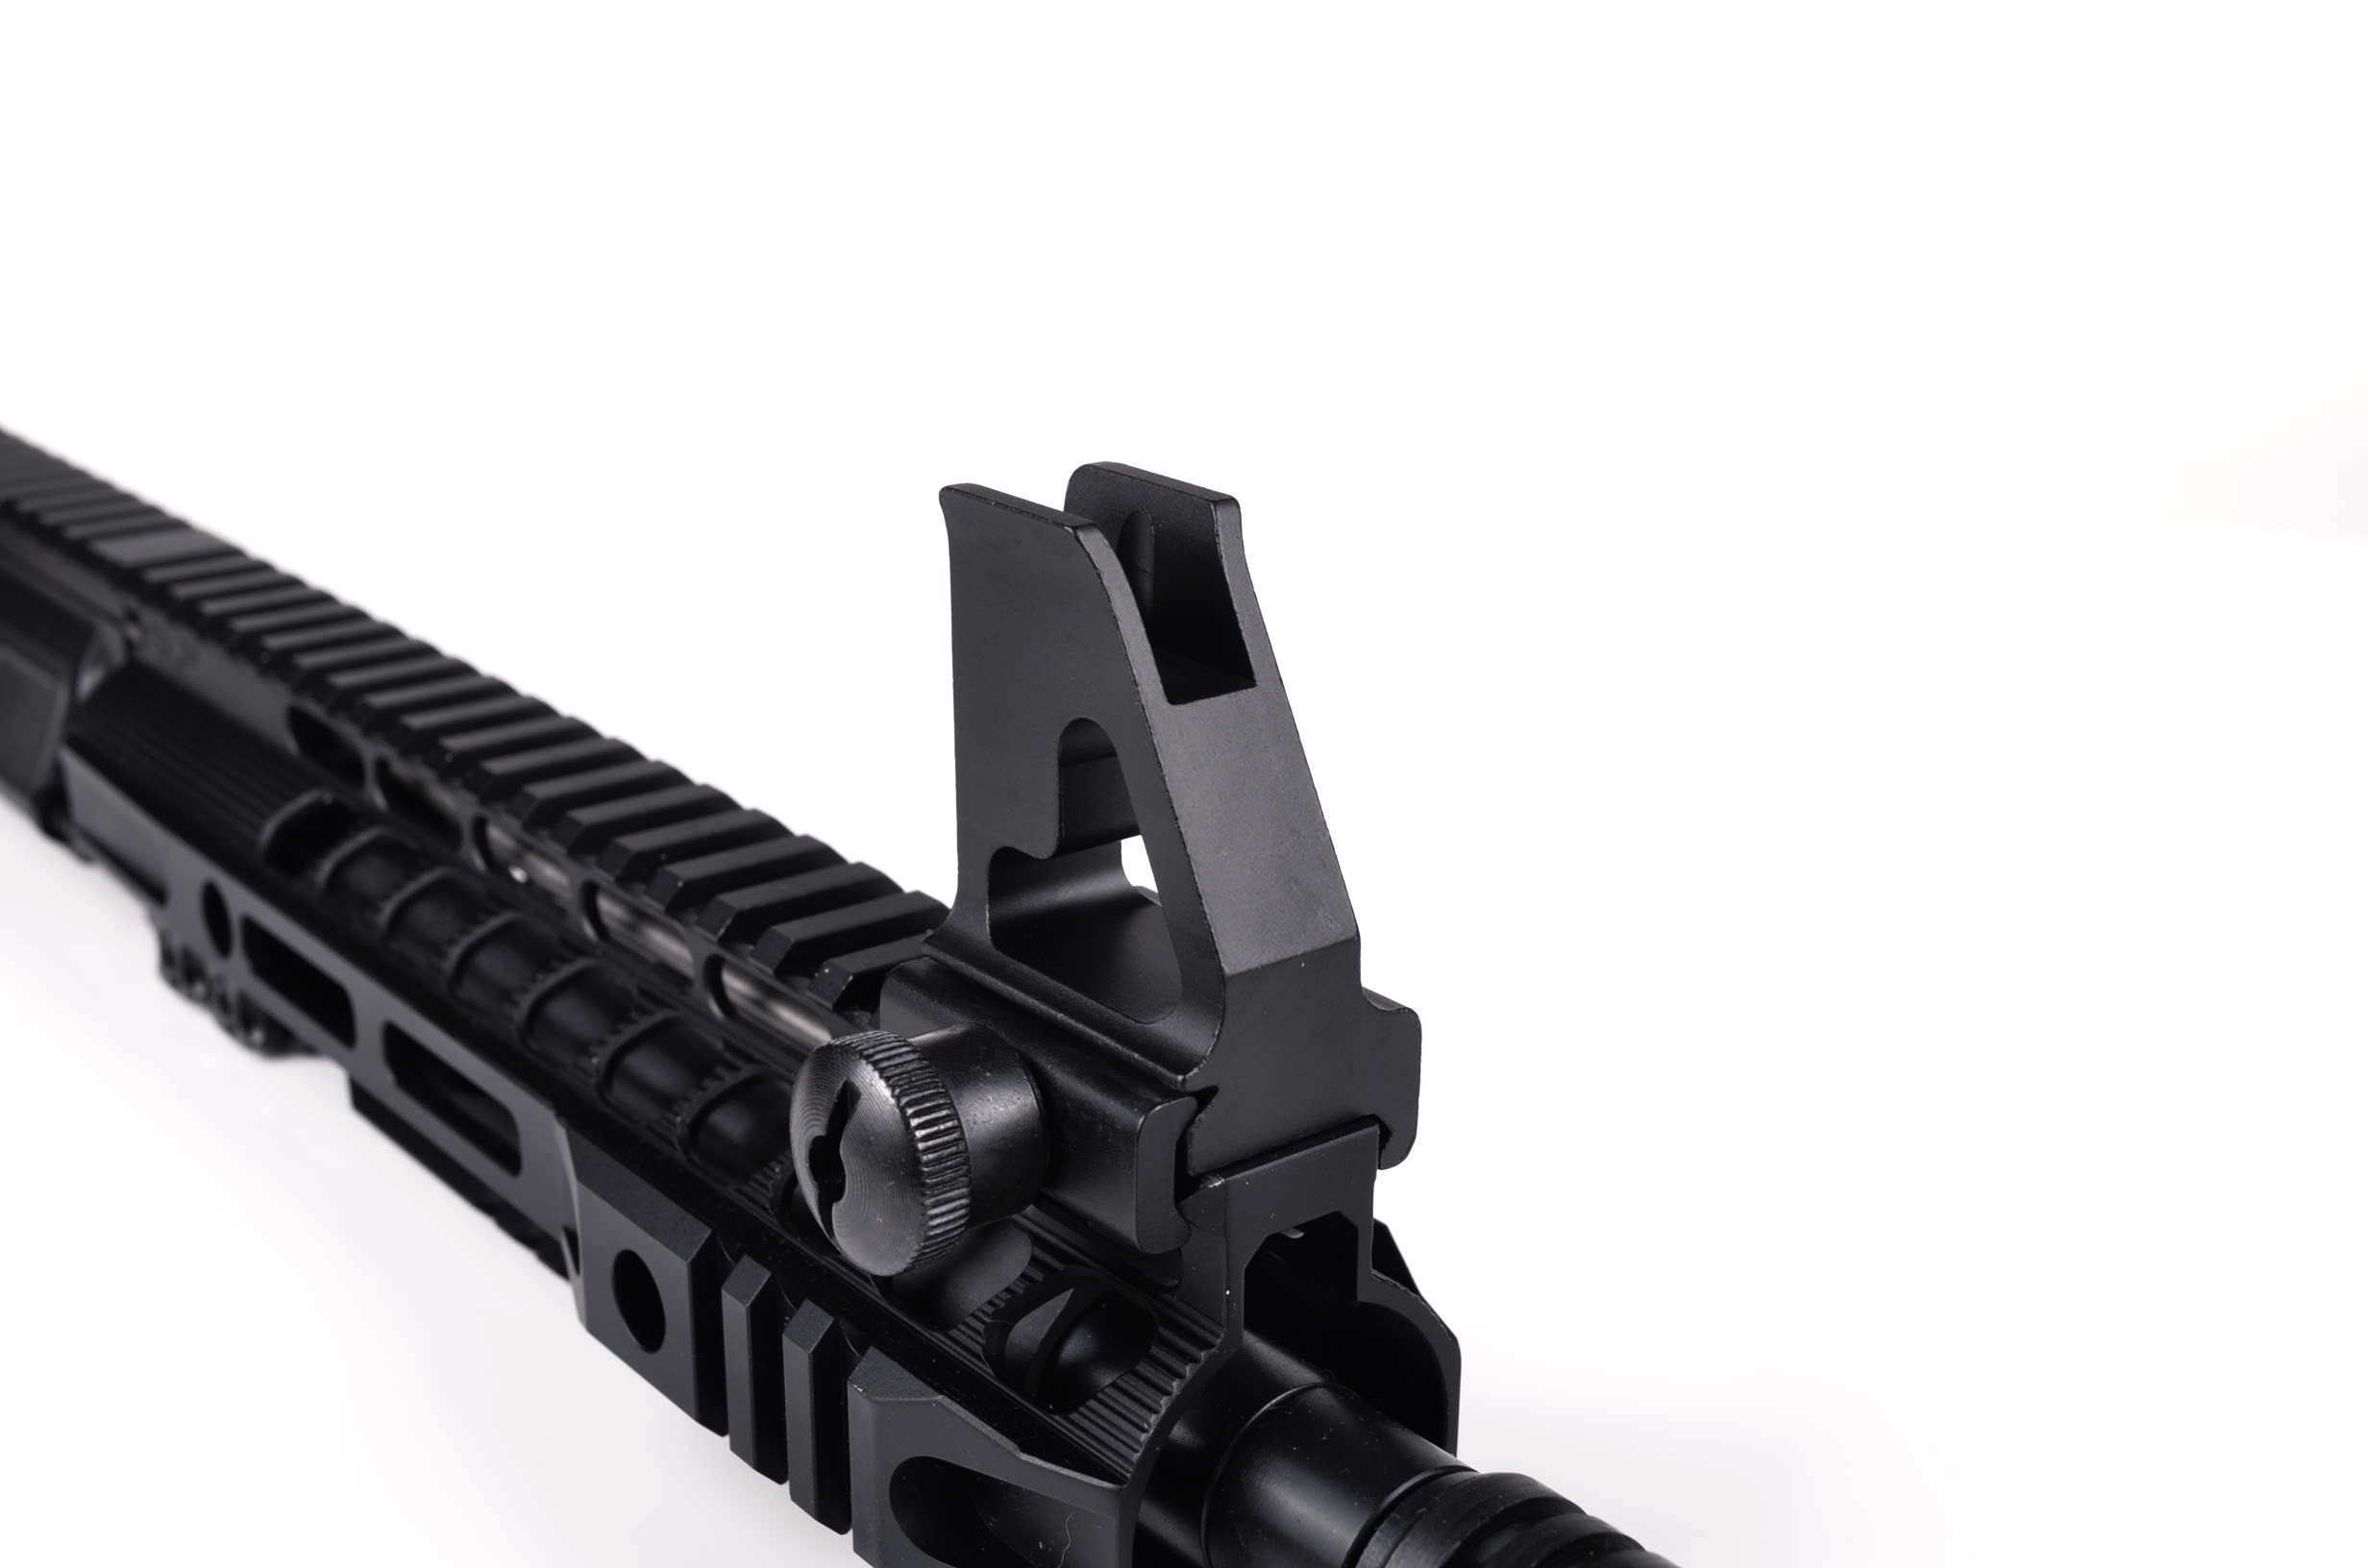
So, you're staring down your AR-15, thinking those iron sights are cramping your style? Been there, done that. Whether you're after a sleeker look or making room for some fancy optics, getting rid of those fixed sights (especially that stubborn-as-hell A2 iron sights on your AR-15) can be a real pain in the rear. But don't worry, I've got your back.
The Toolbox Rundown
Alright, before we get our hands dirty, let's grab what we need:
- A brass hammer (because your gun deserves better than steel)
- Some roll pin punches (trust me, you'll need 'em)
- A bench block (to keep things steady)
- Painter's tape (scratches are for losers)
- WD-40 or something similar (for those pins that just won't quit)
- A vise with soft jaws (to hold your AR without mangling it)
Let's Get Those Sights Off
Step 1: Set Up Shop
First things first – make damn sure your AR-15 is unloaded. I'm not your mom, but safety first, right? Now, clamp that baby in your vise. Not too tight, though. We're removing sights, not crushing dreams.
Step 2: The A2 Front Sight Showdown
This is where things get interesting:
- Find that gas tube pin. It's small, but it's mighty.
- Get your punch and give it a few love taps with the brass hammer. Easy does it – we're not trying to wake the neighbors.
- Once the gas tube's free, it's taper pin time. These little bastards can be stubborn, so hit 'em with some WD-40 if they're being extra ornery.
- Punch those taper pins out. They're tapered for a reason, so make sure you're not hammering the wrong way like I did the first time (yeah, laugh it up).
- If all goes well, that A2 front sight should slide off smoother than a greased pig. If it doesn't, don't force it. A little wiggle and sweet talk go a long way.
Step 3: Rear Sight Rodeo
The rear sight's usually less of a headache:
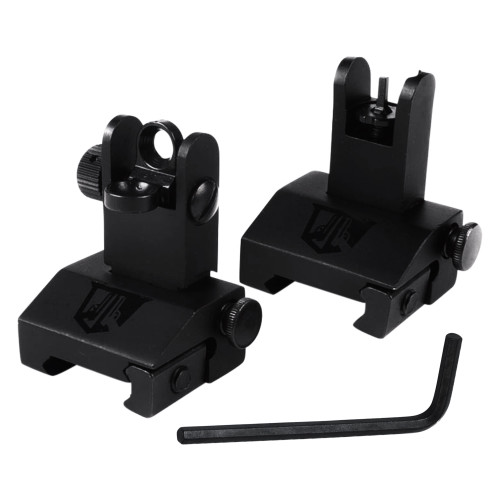
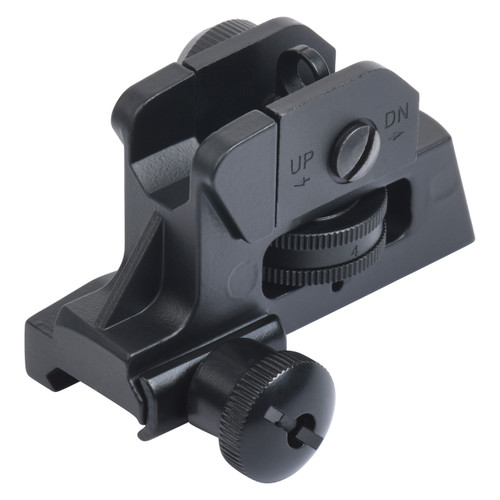
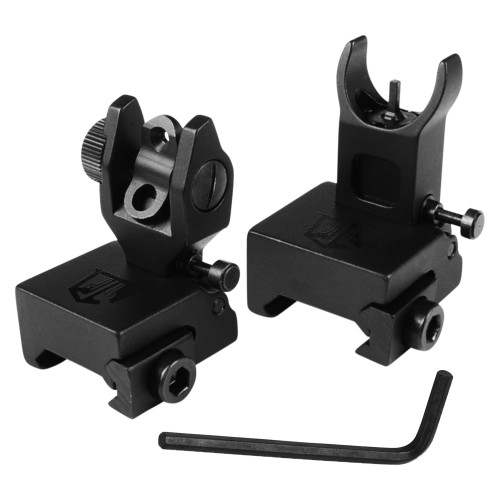
- Got detachable sights? Look for screws or a lock. Loosen 'em up and slide that sucker off.
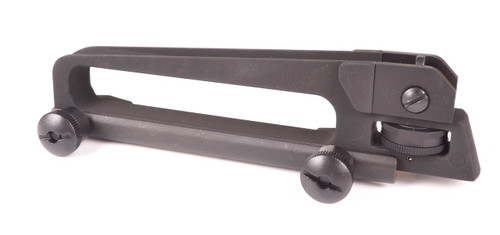
- Dealing with a carry handle sight? Grab an Allen wrench or flathead. Pop those bolts off and lift it like you're uncovering buried treasure.
Step 4: Clean-Up Time
Alright, sights are off. Now what?
- Wipe off any gunk or metal bits. A clean gun is a happy gun.
- Give it a once-over for any boo-boos. Better to spot 'em now than at the range.
- If you scratched it (hey, it happens), touch it up. Keep your AR looking sharp for the 'gram.
What's Next, Hotshot?
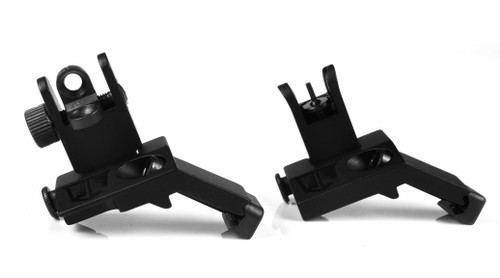
Now that your AR-15's freed from its rear sight and front sight, sky's the limit. Maybe you're eyeing some flip-up sights or thinking about going full operator with a red dot. Whatever floats your boat, just make sure it fits your shooting style. And for the love of all that's holy, practice with your new setup. Check out Brownells for more detailed guides

Q&A Time: Because I Know You're Wondering
Q: Can I royally screw this up? A: I mean, anything's possible if you try hard enough. But stick to the script, use the right tools, and you'll be fine. Just don't get all Hulk-smash on your rifle.
Q: Do I seriously need all these specific tools? A: Unless you want your AR to look like it lost a fight with a cheese grater, yeah, you do. Invest in the right stuff – your gun (and your wallet) will thank you later.
Q: I've ditched the iron sights. Now what? A: Time to play dress-up with your AR! Try out some new sights, slap on an optic, go nuts. Just make sure whatever you pick plays nice with your setup.
Q: Is it normal to feel like a badass after this? A: Abso-freakin-lutely. Grab a beer and bask in the glory of your newly customized AR-15..
ARTICLE WRITTEN BY MATT RICE, OWNER OPERATOR OF OZARK ARMAMENT

