Posted by Aaron Rice on Jun 25th 2024
Iron Sights for Picatinny Rails: Your Trusty Backup Plan
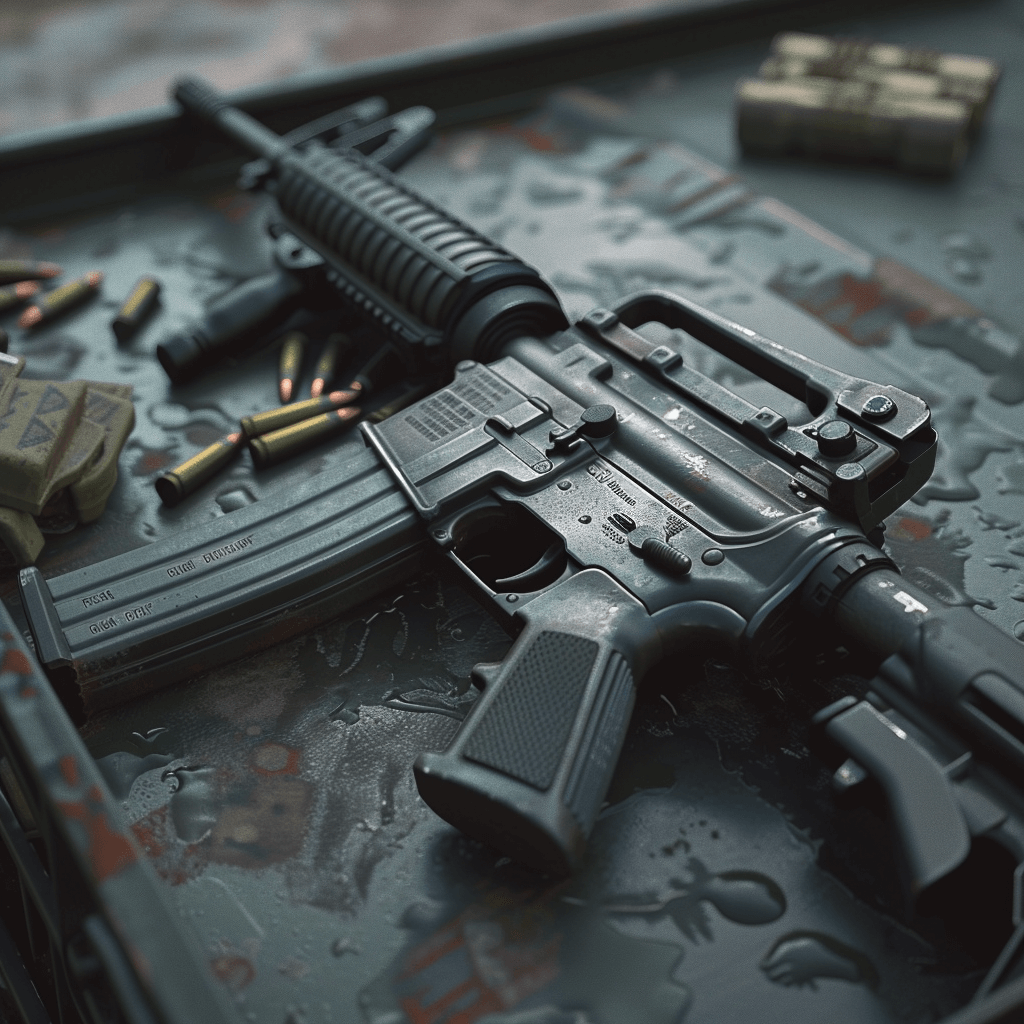
Let's face it, folks - sometimes our fancy optics decide to take a vacation right when we need 'em most. That's where iron sights for Picatinny rails come in clutch. These bad boys are like the Swiss Army knife of the shooting world - versatile, reliable, and always ready to save your bacon.
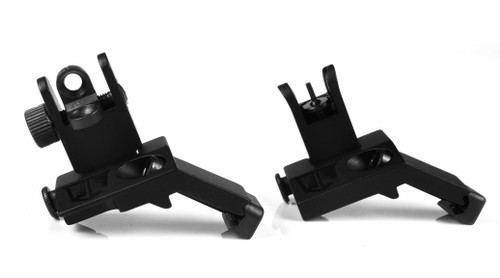
Whether you're rocking a Dagger Defense flip-up or a Feyachi 45-degree offset, the right iron sights can turn your "oh crap" moment into a "hell yeah" bullseye. So, let's dive into the world of iron sights and find out which ones will have your back when the chips are down.
Iron Sights 101: The Basics
Iron sights aren't just relics from your grandpa's gun safe. They're still kicking ass and taking names in the modern shooting world. Here's why they're still relevant:
- Types of Iron Sights:
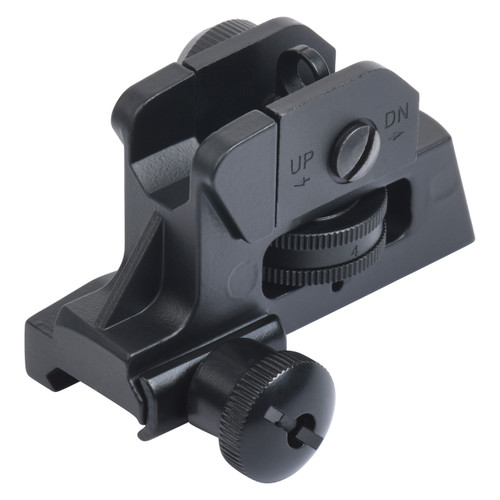
- Fixed: Always up and ready to rumble. Our A2 Rear Iron Sight is tougher than a $2 steak.
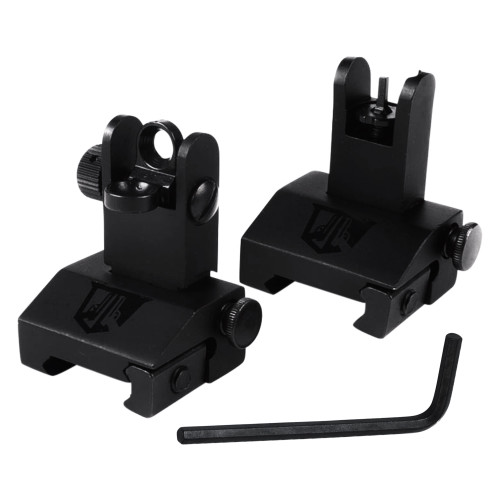
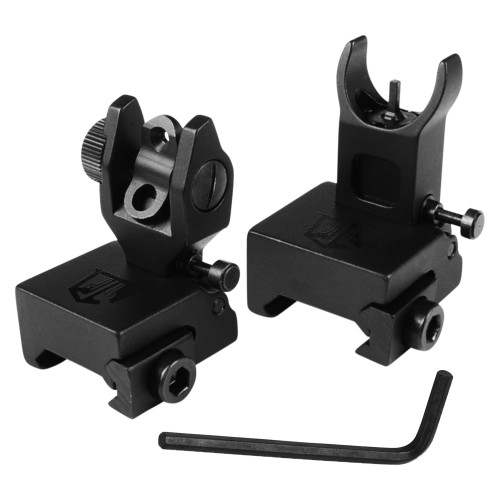
- Flip-Up: Like a ninja, they appear when you need 'em and vanish when you don't. Check out our Battle Sights (BUIS) and Micro Flip Up Backup Sights.
- Canted: For when you need to go from long-range sniper to close-quarters badass in 0.5 seconds flat.
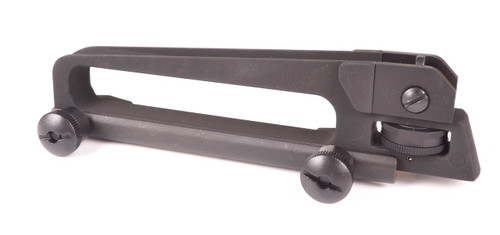
- Carry Handle: Old school cool with a modern twist. Our Carry Handle Rear Sight lets you channel your inner 'Nam while still hitting the mark.
- HK Style BUIS: Because sometimes you need to feel like John McClane while you're at the range.
- Why Iron Sights Rock:
- Tough as nails: No batteries, no problem. These things could survive a zombie apocalypse.
- Low profile: Some models, like our Micro Flip Up Backup Sights, are slicker than a greased pig.
- Won't break the bank: Get reliable aiming without selling a kidney.
- Jack of all trades: Slap 'em on anything from your AR to your cousin's sketchy home-built shotgun.
- Shooting skills on steroids: Master iron sights, and you'll be the Jedi of the shooting world.
Choosing Your Iron Sight Sidekick
Picking the right iron sight is like choosing a dance partner - you gotta know what moves you're looking for. Here's the lowdown:
- Tough Stuff: You want something that can take a licking and keep on ticking. Our A2 Rear Iron Sight is made from 6061 aircraft-grade aluminum - the same stuff they use to build fighter jets. So unless you're planning on dogfighting with your AR, you're good to go.
- Easy Peasy Installation: Nobody wants to spend hours cursing at their gun like it's a stubborn IKEA cabinet. Our Battle Sights (BUIS) snap on faster than you can say "pew pew." No tools required, just opposable thumbs and a can-do attitude.
- Dial It In: Adjustability is key, folks. Our HK Style BUIS lets you tweak that windage and elevation like a pro. It's like having a cheat code for accuracy.
Fixed vs. Flip-Up: The Great Debate
It's the age-old question - to flip or not to flip?
Fixed sights are like that reliable friend who's always ready for a beer run. Our A2 Front Sight and A2 Rear Iron Sight are always on duty, no questions asked.
Flip-up sights, like our 45 Degree Flip Up Backup Sights, are more like that friend who's down for anything. They're there when you need 'em, gone when you don't. Perfect for those "just in case" moments.
Peep vs. Open: The Showdown
Peep sights, found in our Battle Sights (BUIS) and HK Style BUIS, are like looking through a keyhole. Great for precision, but might slow you down a tad.
Open sights, like our Fixed Canted Iron Sights, are more "point and shoot." Perfect for when you need to engage targets faster than a caffeinated squirrel.
The Competition
Sure, there are other fish in the sea. The UTG Super Slim RMR Mount is pretty slick if you're into that sort of thing. And if you're pinching pennies, the Feyachi Flip Up Rear Front and Iron Sights won't leave you eating ramen for a month.
Installing Your New Best Friend
Alright, time to slap that bad boy on your rail. Here's the quick and dirty:
- Grab your tools: Screwdrivers, torque wrench, Allen wrenches, and some Loctite (because nobody likes a loose screw).
- Find your spot: Rear sight goes in back, front sight goes in front. I know, rocket science, right?
- Mount up: Stick it on the rail, but keep it loose for now.
- Get it straight: Use a level unless you want your shots looking like a drunk bumblebee's flight path.
- Tighten it up: Torque those screws like you're trying to open a stubborn pickle jar.
- Double-check: Give it a wiggle. If it moves, you messed up. Try again, champ.
- Test it out: Aim at something. If you can see through both sights without growing a third eye, you're golden.
Keeping Your Sights Happy
A little TLC goes a long way:
- Clean 'em up: Use a soft brush and some solvent. Treat 'em like you would your teeth (assuming you brush those regularly).
- Store 'em right: Keep 'em dry and cool. Nobody likes a rusty sight.
- Check 'em often: Look for loose screws or wear and tear. Fix it before it becomes a problem.
- Zero in: Make sure they're on target. Unless you enjoy missing, that is..
The Bottom Line
Choosing the right iron sights for your Picatinny rail isn't rocket surgery, folks. Whether you go fixed or flip-up, peep or open, just make sure it fits your style. Follow our install and maintenance tips, and you'll be shooting straighter than an arrow in no time.
Remember, with the right iron sights, you'll be ready for anything - from zombie apocalypses to surprise squirrel invasions. Now get out there and start aiming!
Got questions? Hit up the FAQ section below. And if all else fails, just remember: aim small, miss small, and always blame the wind if you miss.
Installing iron sights on a Picatinny rail enhances your shooting accuracy and consistency. Let's get into the essentials for a straightforward installation process.
ARTICLE WRITTEN BY AARON RICE GENERAL MANAGER OZARK ARMAMENT
