Posted by Matt Rice on Apr 26th 2023
Zero & Adjust your Iron Sights for Precision Shooting
Zero & Adjust your Iron Sights for Precision Shooting
I'm Matt Rice, Ozark Armament's owner-operator, with 15 years of firearms experience. Drawing from my own firsthand experience I'll share how to adjust iron sights for better precision & accuracy.
There was a time when I went hunting, and thanks to a zeroed iron sight, I managed to successfully shoot a buck despite the distance being quite challenging.
Understanding Iron Sights: Types and Components
Iron sights come in various types, each with its components and unique features. Let's dive in and discuss the main types of iron sights, their components, and how they work.
Open Sights: Simplicity and Efficiency
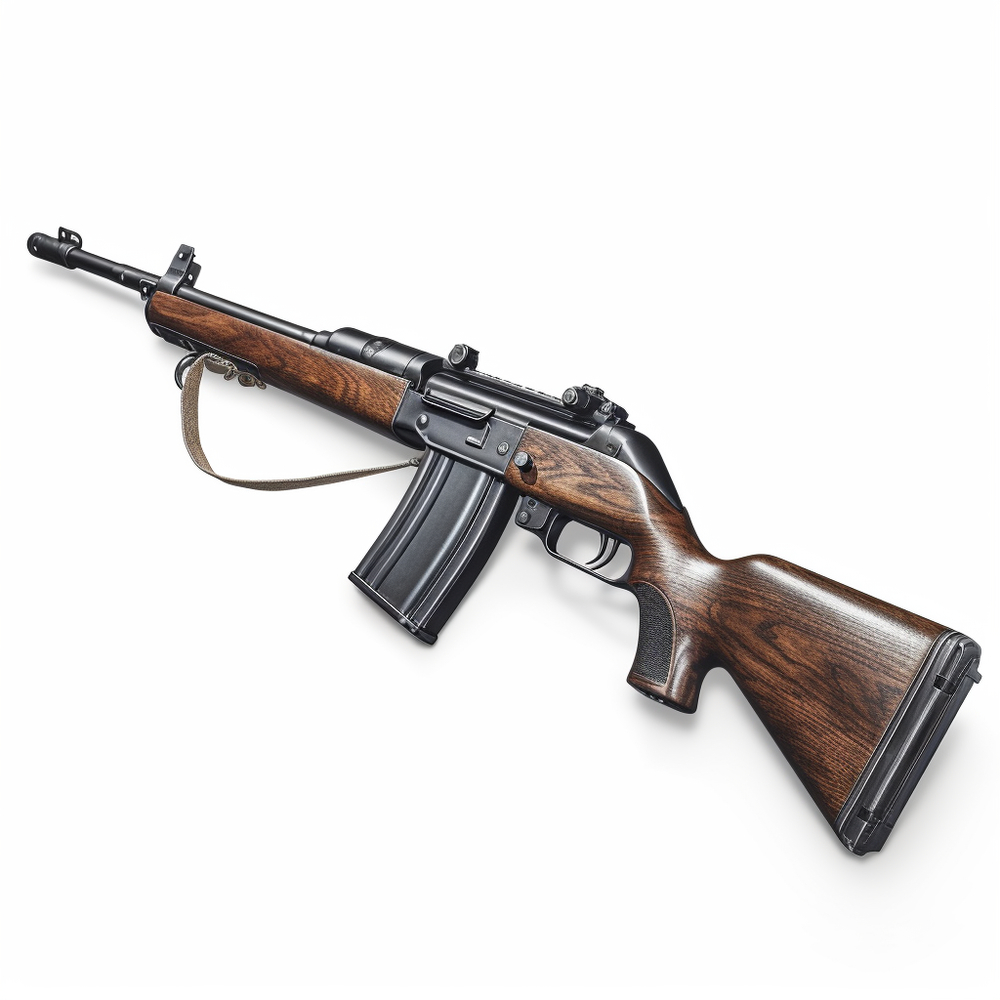
Open sights are the most basic type of iron sights, featuring a front post and a rear notched sight. I've found that they are easy to use and provide a clear sight picture, making them perfect for beginners or those who appreciate simplicity. Open sights can be found on a variety of rifles, including classic lever-action guns and .22 caliber rifles.
Aperture Sights: Ghost Ring and Peep Sight

Aperture sights consist of a small circular hole, also known as the aperture, in the rear sight and a front post. Ghost ring sights have a large aperture, while peep sights have a smaller one.
Aperture sights provide improved accuracy and quicker target acquisition than open sights, popular among experienced shooters.
Aperture sights can be found on most rifles including M4-style rifles.
Flip-Up Sights: Backup Option for Modern Rifles
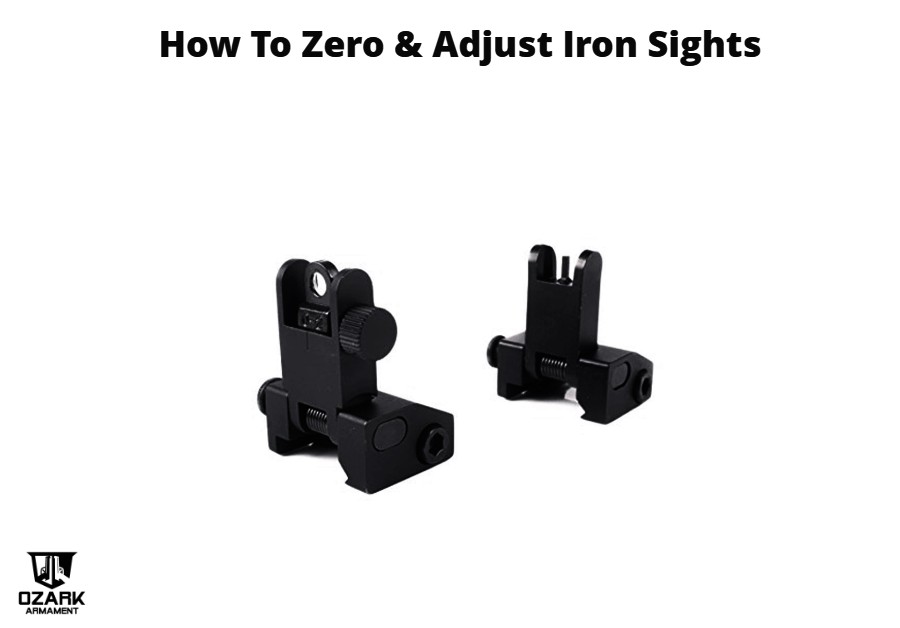
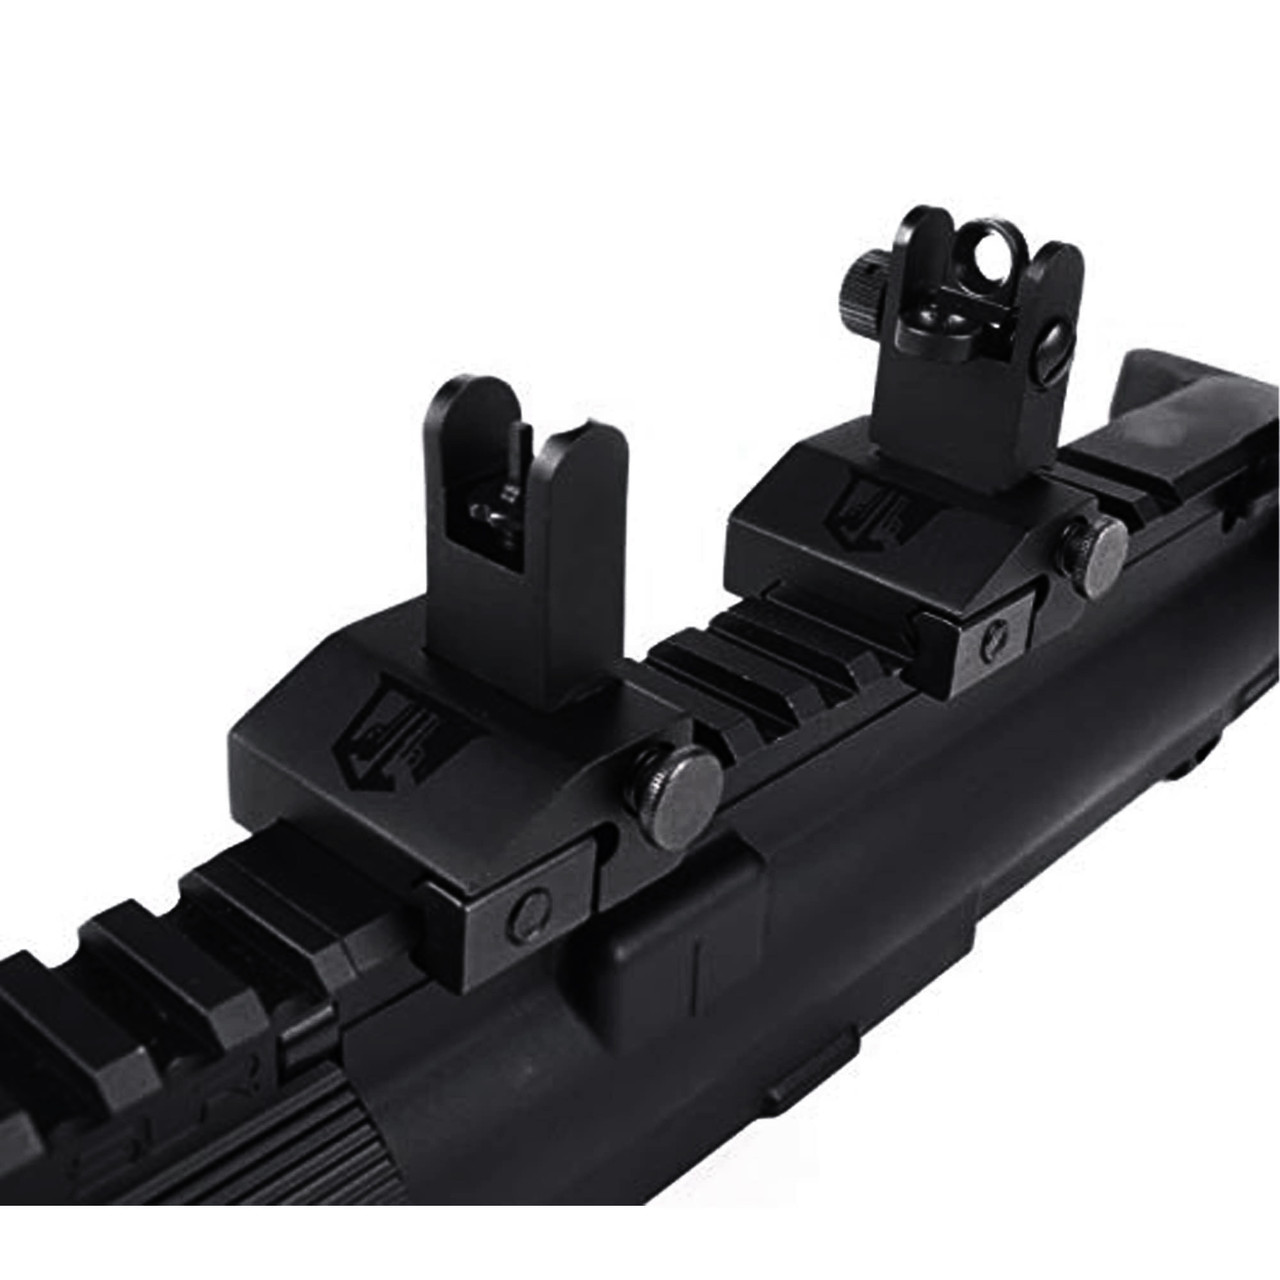
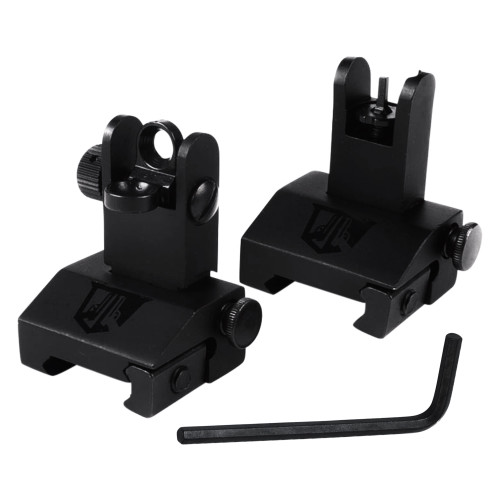
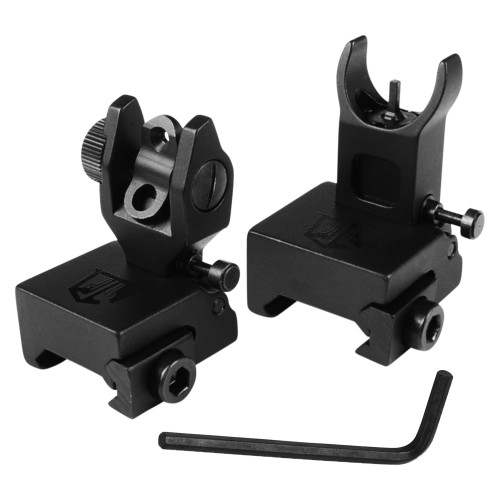
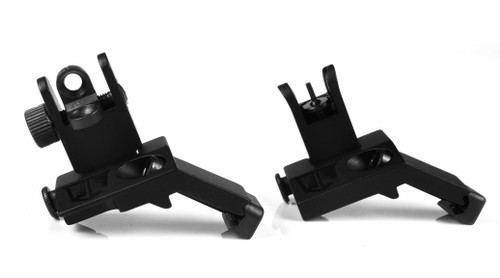
Flip-up sights are designed to fold down when not in use and quickly deploy when needed. They are commonly used as backup sights for rifles with optics, such as red dot sights, ensuring that the shooter has a reliable sighting system even if the primary optic fails.
Flip-up sights are found on a range of modern rifles and can serve as primary or backup sighting systems.
Rear Sight Adjustment: Windage and Elevation Knobs
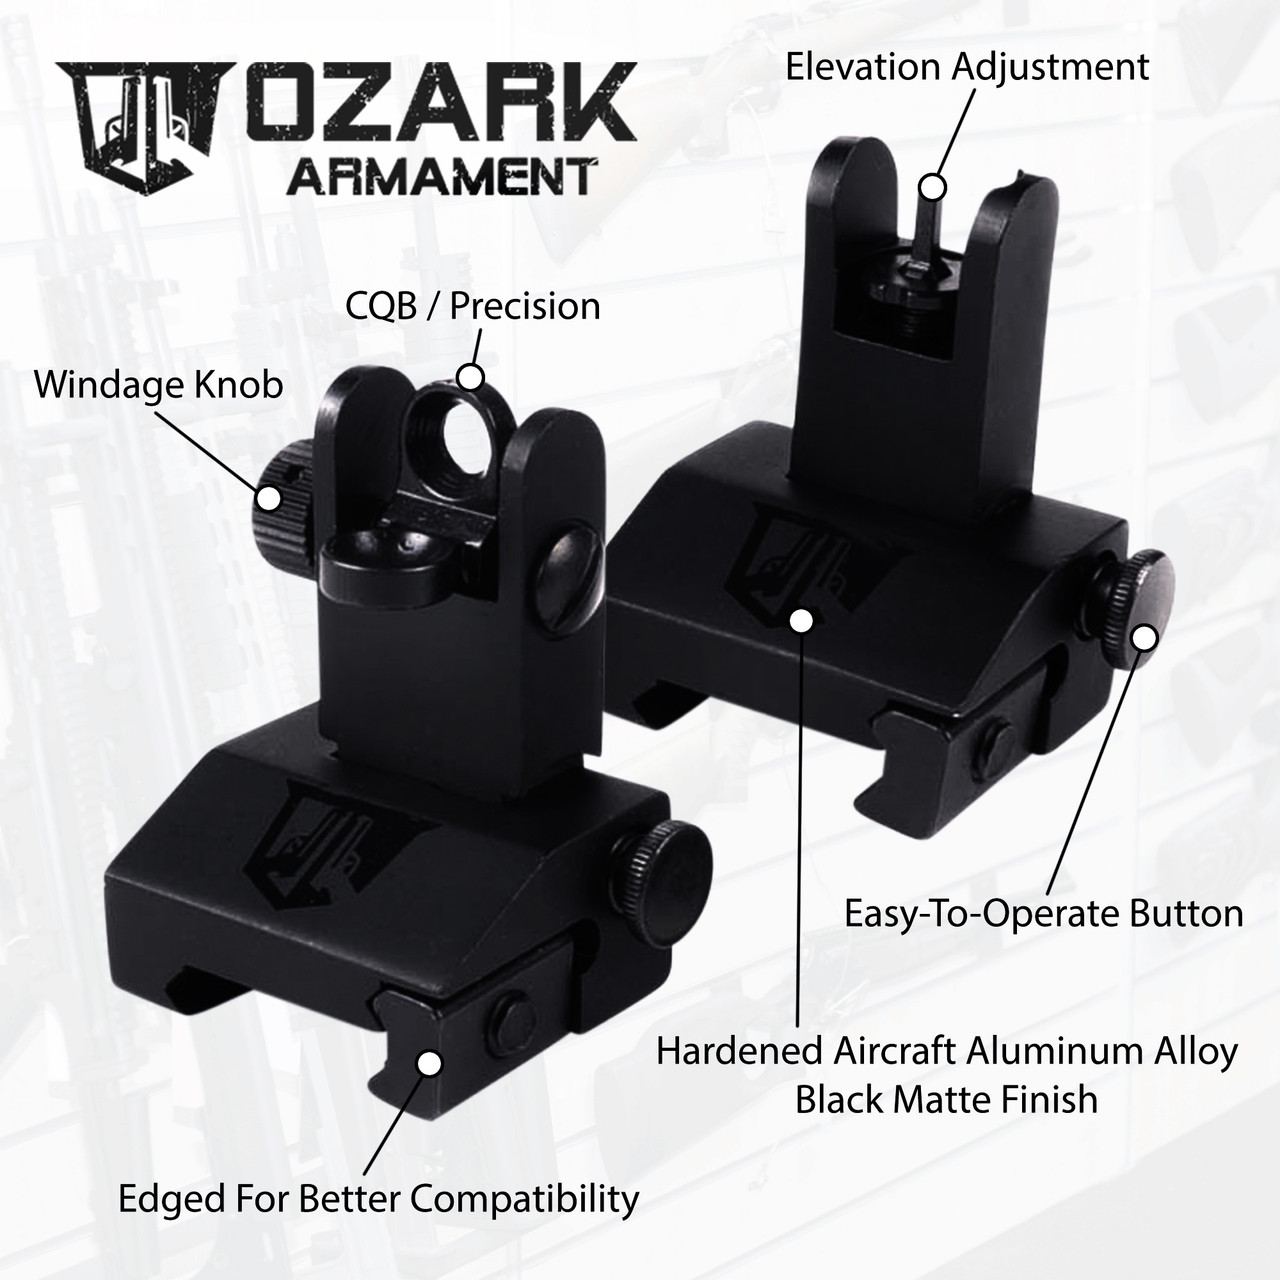
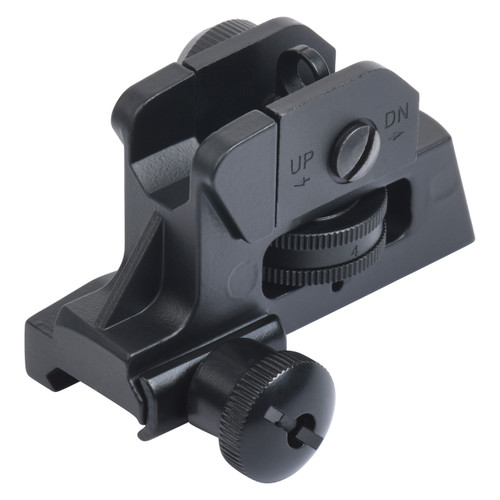
Rear sight adjustments are made using windage and elevation knobs. Windage knobs control the horizontal movement of the sight, while elevation knobs control the vertical movement.
These adjustments allow the shooter to zero their rifle, ensuring that the point of aim corresponds with the point of impact. Windage and elevation adjustments are essential for fine-tuning the sight alignment for precise shot placement.
Preparing for Sight Adjustment: Zeroing-In Your Rifle
Before adjusting your iron sights, through my own trial and error I've learned it's essential to zero your rifle. This process involves achieving consistent shooting groups and analyzing your shot groups to determine necessary adjustments.
Achieving Consistent Shooting Groups

I've found that in order to achieve consistent shooting groups, focus on proper shooting fundamentals, such as maintaining a stable shooting position, breathing, and trigger control. I've found that consistency in these fundamentals leads to tighter shot groups, making it easier to determine the adjustments needed to zero your rifle.
Analyzing Shot Groups and Centering on Target
After shooting a group, analyze your shots' placement on the target. Identify the center of your shot group and compare it to the desired point of impact. Based on this analysis, you'll know whether you need to adjust your sights up or down, left or right.
Use the type of target that best suits your shooting style and preferences to make this process easier.
Step-by-Step Guide to Adjusting Your Iron Sights
Now that you understand the basics of iron sights and zeroing your rifle, let's dive into the step-by-step process of adjusting your iron sights.
Step 1: Marking the Center and Counting Scoring Rings
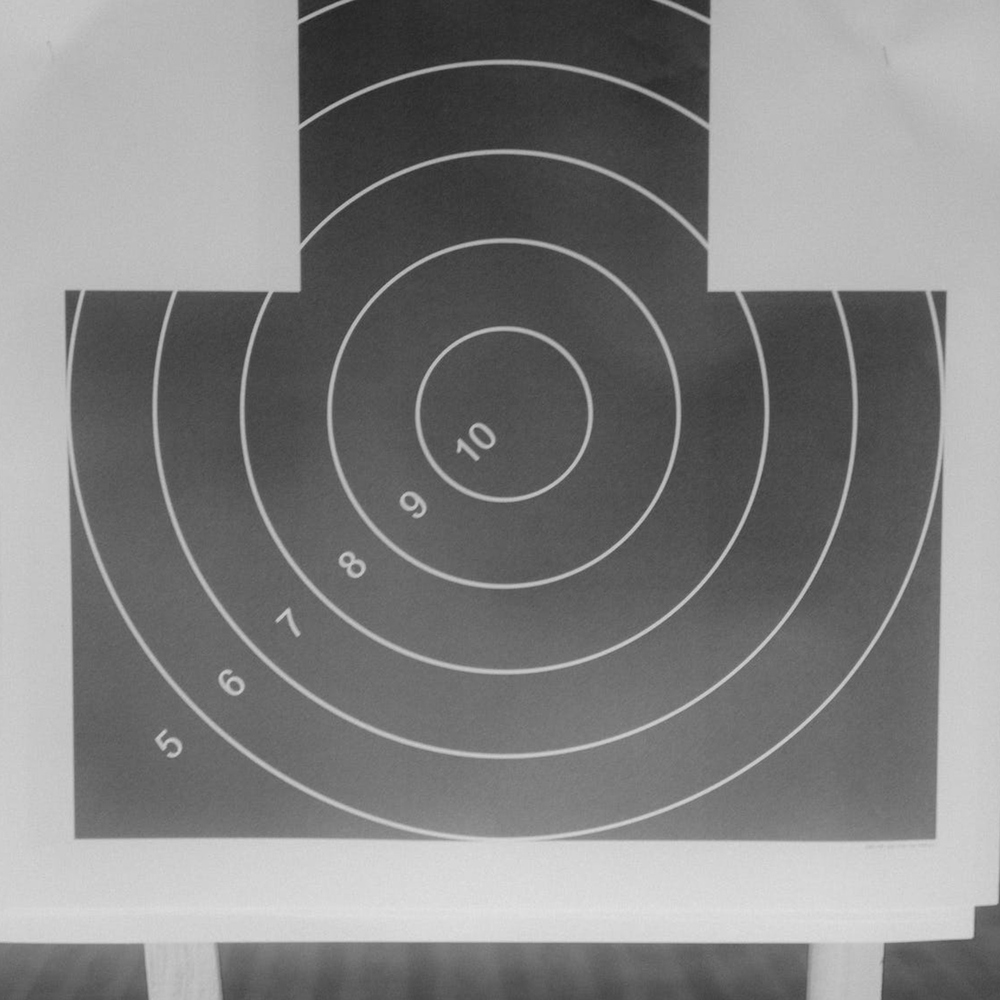
First, mark the center of your shot group on the target. Count the number of scoring rings between the center of your group and the desired point of impact.
This will give you an idea of how many clicks you need to adjust your sights.
Grid paper targets can be helpful during this process, as they allow you to easily count the number of clicks it takes to move your point of impact.
Step 2: Adjusting Elevation to Move Shot Group Up or Down
To adjust the elevation, turn the elevation knob on your rear sight. Typically, each click will move the point of impact up or down by a specific distance at a given range. Check your sights manual to determine the exact values.
One unique tip I've discovered through personal experience is to slightly over-adjust your elevation and then fine-tune it with smaller adjustments. This can help you quickly zero in on the correct elevation setting.
Step 3: Adjusting Windage to Move Shot Group Left or Right
To adjust the windage, turn the windage knob on your rear sight. Similar to the elevation adjustments, each click will move the point of impact left or right by a specific distance at a given range.
Again, consult your sight's manual for exact values. Remember the general rule for adjusting windage: "Move the rear sight in the direction you want the bullet impact to move." This simple rule will help you make accurate adjustments quickly.
Step 4: Shooting Another Group and Verifying Results
Once you've made your adjustments, shoot another group to verify the results. If your shot group is centered on the desired point of impact, your sights are correctly adjusted.
If not, repeat the adjustment process until you achieve the desired results. Utilize grid paper targets and document your adjustments and results, which will help you track your progress and improve your shooting skills over time.
How to Achieve Mechanical Zero at Home
Through my own practical knowledge I know that before heading to the range, you can achieve a mechanical zero at home by centering your sights. Mechanical zero is when your sights are perfectly centered, ensuring that your shots will be as accurate as possible when you start shooting at the range. Here's how to do it:
Adjusting the Base of the Front Sight Post
Ensure that the front sight post is centered in its base. This can usually be done by visually aligning the post or using a front sight tool specifically designed for this purpose. Rotate the front sight post clockwise or counterclockwise to raise or lower the point of impact.
Counting Clicks and Centering the Rear Aperture
Center the rear aperture by counting the total number of clicks for windage and elevation adjustments, then dividing that number by two. Turn the knobs to reach the midpoint, effectively centering the rear sight.
Zeroing Iron Sights at the Range
Now that you've achieved a mechanical zero, it's time to head to the range and fine-tune your zero.
Choosing Your Zeroing Distance: 25 and 50 Yards
Choose a distance to zero your sights. Common distances are 25 and 50 yards. Keep in mind that the zeroing distance will affect your rifle's trajectory at different ranges, so choose a distance that suits your intended purpose.
I once zeroed my iron sights at 100 yards for a long-range shooting challenge with my buddies, but for most applications, 25 or 50 yards is sufficient.
Proper Sight Alignment and Trigger Fundamentals
Maintain proper sight alignment and focus on trigger control during the zeroing process. Consistent shooting fundamentals will result in tighter shot groups and make it easier to determine the necessary sight adjustments.
Adjusting Sights and Confirming Zero
After shooting a group at your chosen zeroing distance, make adjustments to your sights as needed, based on the position of your shot group relative to the desired point of impact.
Remember to move the rear sight in the opposite direction you want the group to move. For example, if your group is low and to the left, adjust the rear sight up and to the right.
Once you've made the adjustments, shoot another group to confirm the results. If necessary, continue making adjustments and shooting groups until your point of aim and point of impact are aligned.
Confirming Zero at Different Distances
After successfully zeroing your sights at your chosen distance, it's important to verify your zero at different distances. Shoot groups at various distances, such as 50 yards, 100 yards, and beyond, depending on your intended shooting application.
Adjust your sights as needed to ensure consistent shot placement at different ranges.
Troubleshooting Common Issues
If you're having a hard time dialing in your sights, here are some common issues and solutions:
Inconsistent Shot Groups
Inconsistent shot groups may be caused by improper shooting technique, an unstable shooting position, or issues with the firearm itself.
My own experience tells me to practice proper shooting fundamentals, use a stable shooting rest, and inspect your firearm for any mechanical issues that may be affecting accuracy.
Sights Not Adjusting Properly
If your sights don't seem to be adjusting correctly, ensure that your sight is installed correctly and functioning properly.
Consult your sight's manual or contact the manufacturer for troubleshooting assistance.
Point-of-Impact Shifts After Adjustments
If your point-of-impact shifts after making adjustments, verify that your sight is securely mounted and that there is no play or looseness in the sight housing.
A loose sight can cause inconsistent shot placement and difficulty zeroing your rifle.
Frequently Asked Questions
What is the basic rule for sight adjustment?
The basic rule for sight adjustment is to "move the rear sight in the direction you want the bullet to go." This guideline helps you make accurate adjustments quickly and effectively.
Can you adjust iron sights on a rifle?
Yes, you can adjust iron sights on a rifle. Adjustments can be made for both elevation and windage using the knobs on the rear sight to ensure your point of aim corresponds with the point of impact.
Should you have back up iron sights?
Having backup iron sights is recommended, especially for shooters who rely on optics. Backup iron sights ensure that you have a reliable sighting system in case your primary optic fails or becomes damaged.
Are pistol iron sights adjustable?
Some pistol iron sights are adjustable, while others are fixed. Adjustable sights on pistols allow for windage and elevation adjustments, similar to rifle sights. Check your pistol's manual to determine if your sights are adjustable.
Why are iron sights so high?
Iron sights are positioned higher to align with the shooter's line of sight and provide a clear sight picture.
The height of the sights also helps accommodate for the natural arc of the bullet's trajectory, ensuring accurate shot placement.
Wrapping Up
Adjusting your iron sights is an essential skill for any shooter, whether you're a novice or a seasoned marksman. With practice, patience, and attention to detail, you can successfully zero your iron sights for precise shot placement and improved accuracy.
Remember, consistency in shooting fundamentals and proper sight alignment will go a long way in achieving success with iron sights.
So, there you have it – my guide to adjusting iron sights for precision shooting. I hope you found this information helpful, and I wish you the best of luck in your shooting endeavors.
Drop me a line with any questions at support@ozarkarmament.com
Article Written By Matt Rice, Owner Operator of OZARK ARMAMENT

