Posted by Matt Rice on Feb 12th 2024
Mastering the Basics: How to Use Iron Sights on AR-15 Effectively
Hey there, fellow AR-15 enthusiast! Let's cut to the chase and talk about iron sights. Yeah, I know - in a world of fancy optics, it might seem old school. But trust me, knowing how to use these bad boys is like having an ace up your sleeve. When your high-tech gear decides to take a day off, you'll be glad you've got this skill in your back pocket.
Why Bother with Iron Sights?
Getting to Know Your Iron Sights
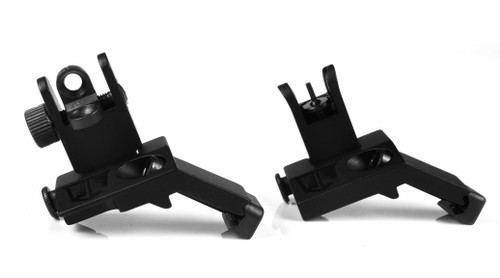
Your AR-15's iron sights are pretty simple:
- Front Sight: Usually a post with protective wings
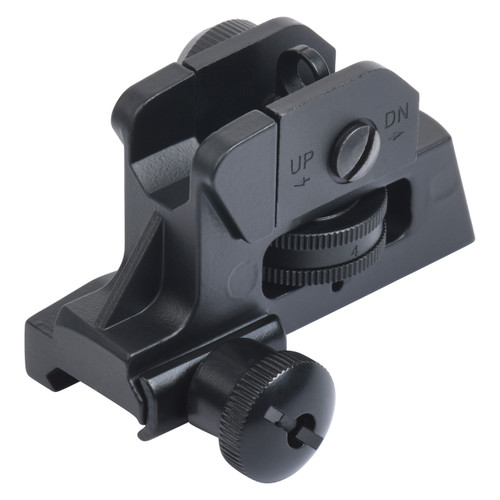
- Rear Sight: Typically a peep hole or notch
Here's the deal: You want to line up the front post in the center of the rear sight. It's like threading a needle, but way more badass.
Mounting Your Sights
Where should you slap these babies on? Here's the lowdown:
- Front sight: Near the muzzle
- Rear sight: As far back as possible on the receiver
This setup gives you a longer sight radius, which is fancy talk for "easier to aim accurately."
Check out our guide on Removing an A2 Front Sight
Adjusting for Bullseye Precision
Alright, time to dial in those sights and start adjusting iron sights for accuracy
- Elevation (up/down): Mess with the front sight
- Clockwise = lower point of impact
- Counter-clockwise = higher point of impact
- Windage (left/right): Tweak the rear sight
- Right = point of impact moves right
- Left = point of impact moves left
Pro tip: Make small adjustments. You're not trying to spin a roulette wheel here.
Remember mastering the adjustments on your sights is key.
If you've got more questions the National Shooting Sports Foundation and The National Rifle Association (NRA) website has a bunch of great guides.
Aiming Like a Pro
- Line up the sights (front post centered in rear sight)
- Focus on the front sight (let the target be a bit blurry)
- Squeeze that trigger smoothly
Remember, it's all about consistency. The more you practice, the better you'll get.
Choosing Your Iron Sights
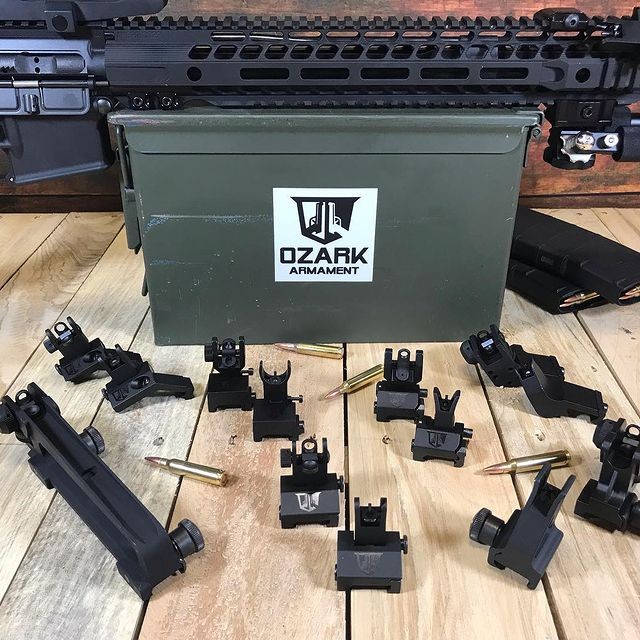
There's a buffet of options out there including a wide selection of Ozark Armament’s AR-15 iron sights, but here are some solid choices:
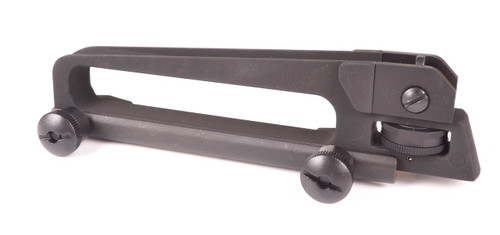
- Ozark Armament Carry Handle Rear Sight: Old school cool
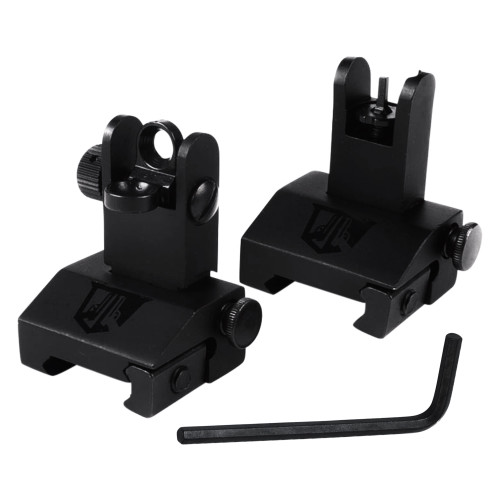
- Battle Sights (BUIS): Quick to deploy when stuff hits the fan
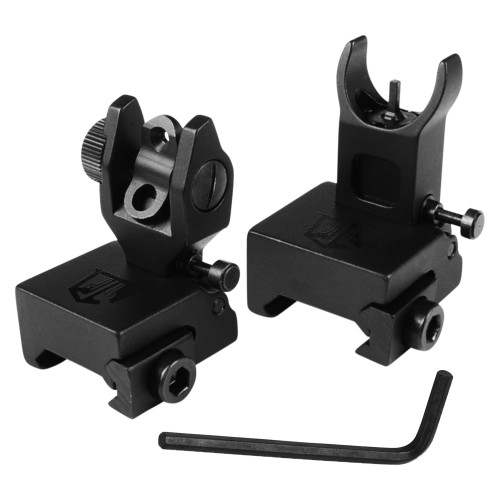
- HK Style BUIS: For when you want to feel like a special ops badass

The Bottom Line
Look, mastering iron sights on your AR-15 isn't rocket science, but it does take some elbow grease. Spend some quality time at the range, and you'll be nailing targets like a pro in no time. And hey, when your buddy's fancy red dot craps out, you'll be the one still on target.
Remember, iron sights aren't just a backup - they're a fundamental skill that'll make you a better shooter overall. So grab your AR-15 or M4 & align those sights.
Got questions? Hit up the National Rifle Association's website for more tips and tricks. Now go make some noise at the range!
ARTICLE WRITTEN BY MATT RICE, OWNER OPERATOR OF OZARK ARMAMENT

