Posted by Matt Rice on Feb 12th 2024

Step-by-Step Guide: How to Zero M4 Iron Sights for Perfect Accuracy
M4 iron sightsZeroing your M4 iron sights might seem like a challenging job, but it's a crucial skill for ensuring your shots hit their mark. Whether you're a seasoned shooter or just starting out, understanding the intricacies of properly aligning your sights is key. In this text, I'll guide you through the step-by-step process of zeroing M4 iron sights, debunking common myths and highlighting essential tips to enhance your shooting accuracy. From understanding the trajectory of your rounds to making precise adjustments, you'll walk away with the knowledge to zero your sights like a pro.

Step 1: Understanding the Basics of Zeroing M4 Iron Sights

When I set out to zero M4 iron sights, the first thing I jump into is the foundation of what makes accurate shooting possible. Zeroing, essentially, aligns the sights with the shooter's eye and the point of impact at a specific distance. This process is fundamental for achieving pinpoint accuracy, whether for competitive shooting, hunting, or tactical purposes.

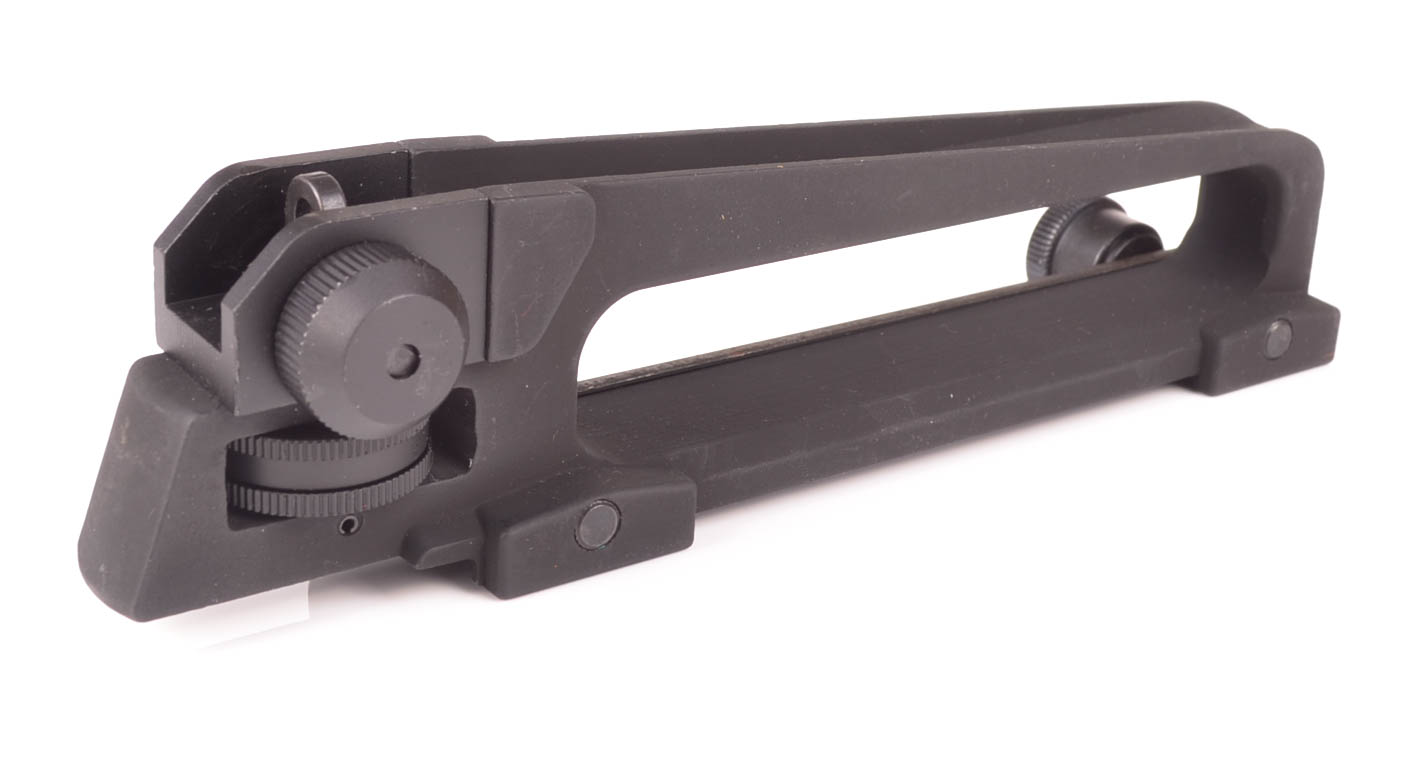
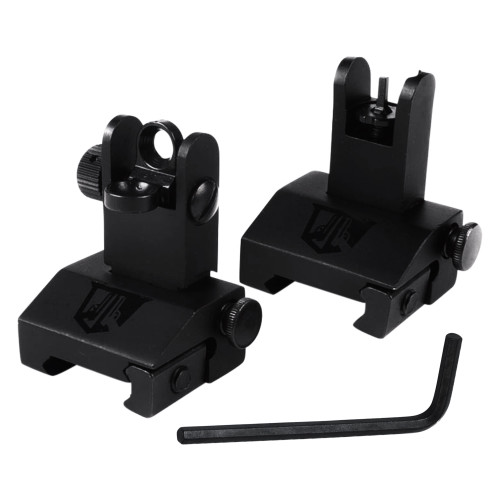
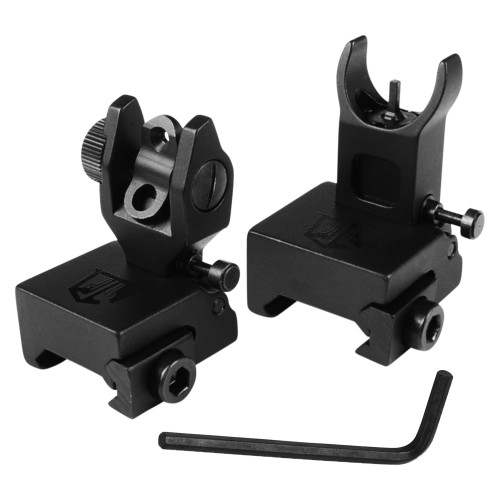
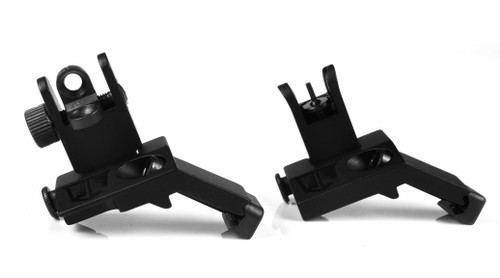
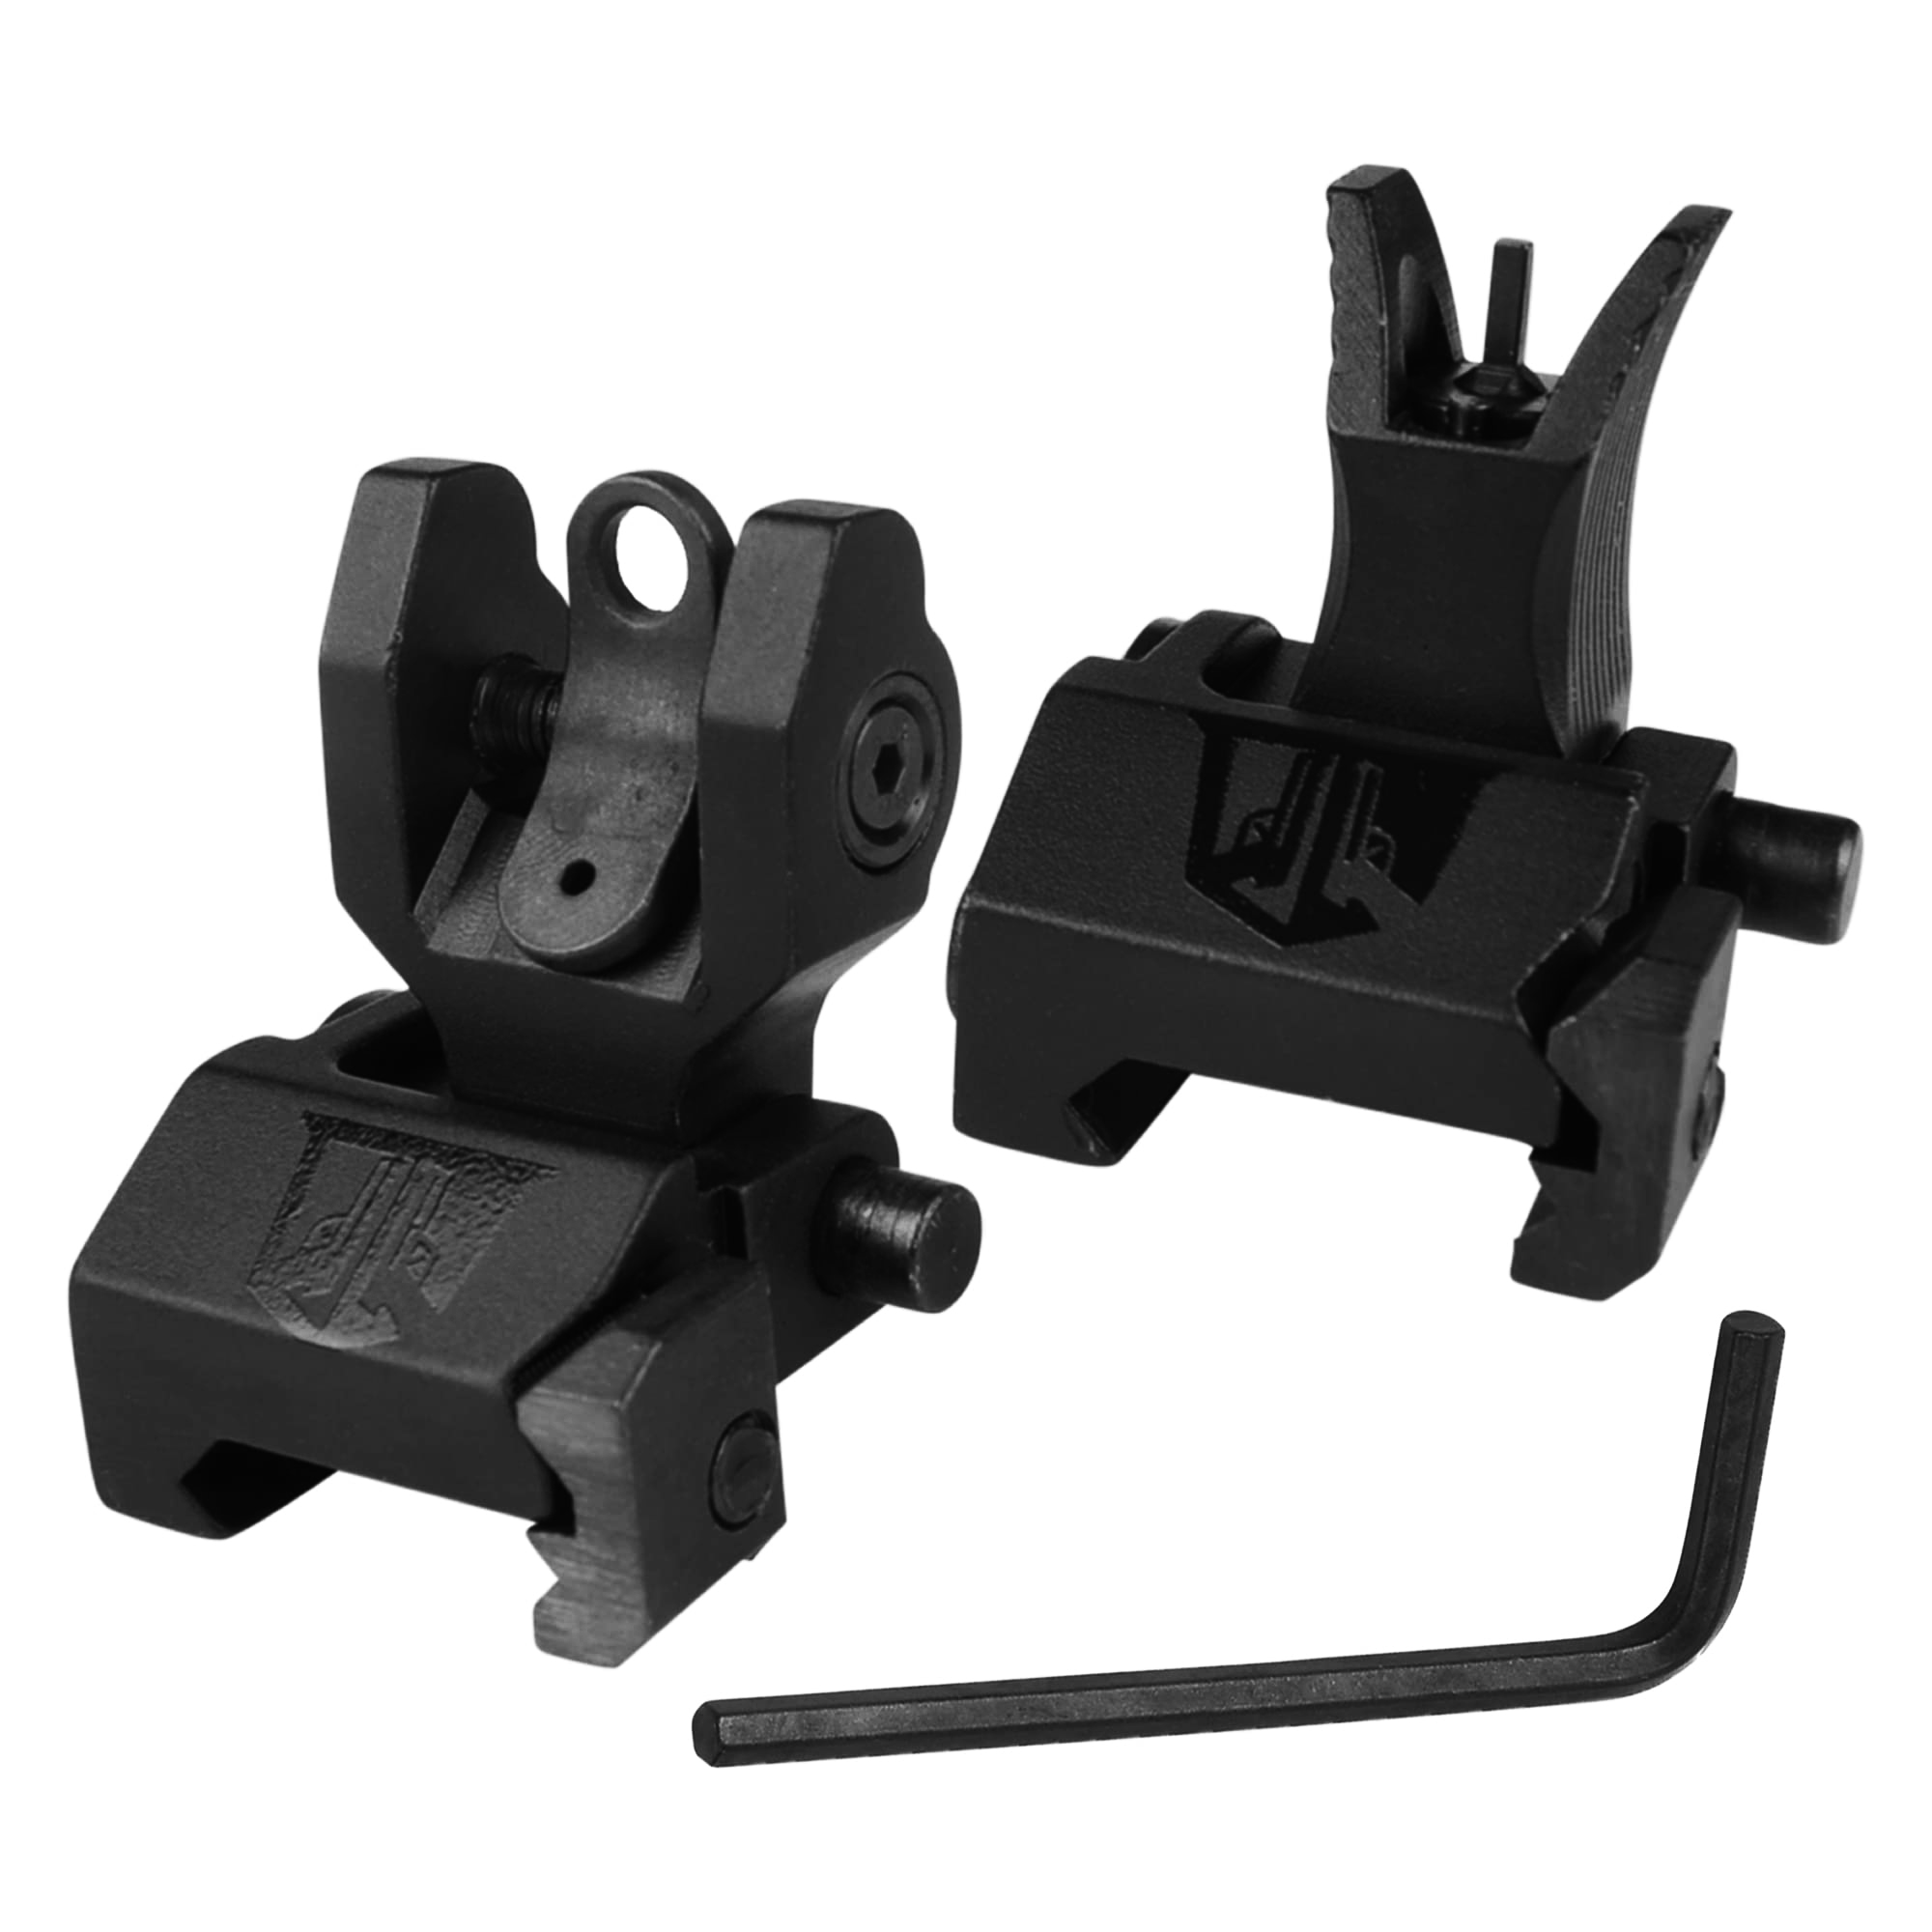
One of the first steps in how to zero M4 iron sights is selecting the right equipment. While there are various iron sights on the market, I recommend our lineup here at Ozark Armament for their reliability and precision. Models like the M4 Carry Handle Sight and the HK Style BUIS stand out for their ease of use and durability. Each sight has unique features, but they all serve the purpose of enhancing shooting accuracy when properly zeroed.

Adjusting M4 Iron Sights

Adjusting iron sights on an M4 involves understanding two main components: windage and elevation. Windage adjustments align the shot left-to-right, while elevation adjustments align it up-and-down. The standard for M4 iron sights, including models from Ozark Armament, is 1/2 MOA per click, which translates to 1/2 inch at 100 yards. This precise adjustment means that knowing how many clicks to adjust M4 iron sights is crucial for accuracy.

Zeroing at 25 Meters

The process to zero M4 iron sights commonly begins at 25 meters, using an M4 25m zero target for iron sights. This distance is ideal for establishing a baseline that can be adjusted for further ranges. The goal here is to align the sights so that shots hit the target’s center at this distance, laying the groundwork for accurate shots at longer ranges. Printable targets specific for zeroing can be vastly helpful and are available online for convenience.

To get accurate zeroing, it’s not just about adjusting the sights but also about the shooter's consistency. Stance, grip, and sight alignment play significant roles in the accuracy of each shot. For beginners, the zero iron sights M4 process can seem daunting, but with practice, the adjustments become intuitive.

Step 2: Preparing your M4 Rifle for Zeroing

Before diving into the specifics of how to zero M4 iron sights, it's crucial to prepare your rifle for zeroing. This ensures accuracy and consistency throughout the process. I've gathered some steps and tips that should be followed.

Firstly, ensure your firearm is safe and unloaded. Checking and double-checking this step is fundamental in promoting a safe environment for you and those around you. Next, you'll want to clean your rifle thoroughly, particularly the barrel and iron sights, to remove any residue or obstructions that could affect your accuracy.

For those new to adjusting and zeroing iron sights, it's essential to familiarize yourself with the basic components and their operation. M4 iron sights consist of a front sight post and a rear sight component which might be adjustable for windage and elevation. Understanding how each part works significantly simplifies the zeroing process.

Choosing the right sights can make a substantial difference. While the original iron sights on your M4 rifle might be adequate, aftermarket options like the HK Style BUIS or the Carry Handle Rear Sight from Ozark Armament offer improved visibility and accuracy. These are designed to enhance shooting accuracy by providing a clear sight picture, and they're user-friendly for both beginners and experienced shooters.

Once your rifle and sights are ready, setting up your shooting range is the next step. A quiet and controlled environment is ideal. Many suggest using an M4 25m zero target for iron sights, as it's specifically designed for this purpose. Placing the target at the correct distance (25 meters) is critical for achieving a true zero.

Shooter consistency is another aspect that cannot be stressed enough. Ensuring that you maintain the same stance, grip, and sight alignment throughout your zeroing shots is vital. Inconsistencies here can lead to false adjustments and frustration.

When it comes to how many clicks to adjust M4 iron sights, remember, each rifle and sight combination may vary slightly. Typically, for Standard USGI sights, adjusting the rear sight one click will move the point of impact 1/2 MOA, which is roughly 1/2 inch at 100 yards. For aftermarket sights like the ones provided by Ozark Armament, refer to the manufacturer's instructions for specific adjustment details.

Step 3: Choosing the Right Zeroing Distance

When I'm getting ready to zero my M4 iron sights, picking the right distance is crucial. After having discussed the importance of selecting high-quality iron sights and adjusting them accurately in the previous sections, it's time to talk about the optimal distance for zeroing. The term "zeroing" refers to the process of adjusting your sights so that your point of aim matches your point of impact at a certain distance. This is essential for achieving accurate shots.

According to military standards, particularly for those who follow the Army's guidelines, the most common zeroing distance for M4 iron sights is 25 meters. This is because the trajectory of 5.56 rounds fired from an M4 flattens out significantly at this range, making it an ideal starting point for zeroing. You'll often find M4 25m zero target for iron sights available, specifically designed for this process. Using a target designed for this range can simplify the process, as it has the necessary adjustments marked on it.

Choosing the right zeroing distance isn't just about tradition or following guidelines; it's about understanding the ballistics of your chosen ammunition and how they affect your point of impact at various ranges. Knowing how your rifle behaves at 25 meters can provide insights into how it'll perform at longer distances. If precision at longer ranges is your goal, starting at 25 meters can give you a solid foundation to adjust from.

When it comes to adjusting the sights, knowing how many clicks to adjust m4 iron sights for elevation and windage is key. Remember, each click of adjustment on standard M4 iron sights like the A2 Rear Iron Sight or the Carry Handle Rear Sight typically equates to about 1/2 MOA (Minute of Angle). This is roughly equivalent to a 1/2 inch movement at 100 yards, but the actual impact will depend on your zeroing distance and the specific sights you're using, like the HK Style BUIS or Micro Flip Up Backup Sights from Ozark Armament. Always refer to the manufacturer's guidelines for exact adjustment specifics.

Step 4: Establishing a Stable Shooting Position

To zero M4 iron sights, it's not just about knowing how many clicks to adjust or using an M4 25m zero target for iron sights; it's also crucial to establish a stable shooting position. This is where accuracy begins, even before the real adjustments are made on your iron sights. A steady position allows for consistency, which is key when testing and adjusting the sights for accuracy.

When preparing to zero M4 iron sights, I always start by ensuring I have a solid foundation. This often means choosing a position that I can comfortably maintain for the duration of the shooting session. For most, this will be either prone, kneeling, or bench-rest positions, each offering stability and comfort. The National Shooting Sports Foundation provides excellent guides on adopting these positions effectively.

Next, I make certain my support hand is firmly placed under the handguard, supporting the rifle's weight and helping to steady the barrel. My grip with the dominant hand is firm yet relaxed, ensuring I don't inadvertently pull the shot off target. It's a delicate balance that takes practice to perfect.

Another tip I've found invaluable is to breathe. It sounds simple, but controlling your breathing helps minimize unwanted movement. I aim to take a deep breath, let it halfway out, then hold it as I squeeze the trigger. This technique, when practiced, leads to much tighter shot groupings which is crucial when you're zeroing iron sights on an M4 or any rifle.

For those new to this process, I recommend investing in quality iron sights to help the learning curve. Ozark Armament offers a range of options such as the Carry Handle Rear Sight and HK Style BUIS which are designed for ease of use and precision. Whether you're adjusting windage or elevation, these sights are user-friendly, offering clear feedback on every adjustment made.

Step 5: Aligning the Front and Rear Iron Sights

When it comes to zeroing M4 iron sights, precision in alignment is non-negotiable. I've spent considerable time mastering the minute details of iron sights from various manufacturers, but for those using Ozark Armament's range — like the Carry Handle Rear Sight or the HK Style BUIS — there's a sense of reliability and ease in adjustments that's hard to beat.

Aligning your iron sights involves a meticulous process. The primary objective is ensuring the front and rear sights form a perfect lineup with your target. This is where the A2 Front Sight and the A2 Rear Iron Sight from Ozark Armament really shine. Their robust construction and precision engineering make fine adjustments straightforward. Remember, how to adjust M4 iron sights starts with understanding that every rifle and sight combination might require a specific approach.

For the M4, a common standard is 1/2 MOA (Minute of Angle) per click. This means for every click, you're adjusting the point of impact by 1/2 inch at 100 yards. Keeping this in mind is essential when dialing in your zero. If you're working with an M4 25m zero target for iron sights, remember, fewer clicks are needed due to the shorter range; precision is key.

Here's a simplified process I follow:

  1. Start by positioning the A2 Front Sight so it's level with the rear sight aperture.
  2. Make windage adjustments using the Carry Handle Rear Sight or A2 Rear Iron Sight based on your initial shots.
  3. For elevation, adjust the front sight using a front sight adjustment tool. This might require you to raise or lower the sight post depending on your point of impact.

For those in the military, understanding how to zero M4 iron sights army style may involve specific targets and procedures. For civilians, practicing on an iron sight zero target printable can help refine your technique.

Ozark Armament's sights, particularly the Fixed Canted Iron Sights and Micro Flip Up Backup Sights, are designed for both novice shooters and veterans. Their intuitive design makes adjusting windage and elevation less of a chore and more of a precise, controlled action.

Step 6: Making Initial Adjustments

After setting up my range and ensuring my M4 is ready for zeroing, I move on to making the initial adjustments to the iron sights. Zeroing iron sights on an M4 isn't just about precision; it's about understanding how each adjustment affects your point of impact. Knowing how many clicks to adjust M4 iron sights is essential in this step.

For starters, most M4s will use the 1/2 MOA (Minute of Angle) adjustability standard, which means each click moves the point of impact 1/2 inch at 100 yards. But, this can vary based on the sight radius. A shorter carbine sight radius means each click will adjust the point of impact more, roughly 40% more movement compared to a full-length rifle sight. For detailed insights into MOA and sight adjustments, Ballistic Studies offers a comprehensive guide.

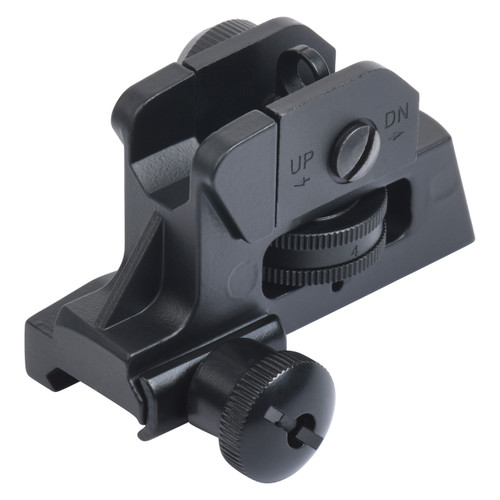
Knowing how to adjust M4 iron sights effectively begins with aligning the rear and front sights. I recommend starting with Ozark Armament's Carry Handle Rear Sight or the A2 Rear Iron Sight for their reliability and ease of use. Adjusting for windage is straightforward with these models; you'll turn the windage knob in the direction you want the shot to move on the target.

Elevation adjustments can be a bit trickier. For an M4, using the A2 Front Sight from Ozark Armament is my go-to. You'll need a front sight adjustment tool for this step. If the shots are hitting too high, you'll want to raise the front sight post, which actually lowers the point of impact. Conversely, lowering the front sight raises the point of impact.

Remember, when zeroing M4 iron sights, starting at 25 meters is ideal. You can use an M4 25m zero target for iron sights available from multiple online resources to simplify the process. This distance is practical and ensures your adjustments are precise without being overly complicated.

Step 7: Fine-Tuning Your Zero

After your initial adjustments, it's crucial to fine-tune the zero of your M4 iron sights for pinpoint accuracy. Even though you've followed the steps on how to zero M4 iron sights, perfection often requires a bit more finesse. I'll guide you through the fine-tuning process, ensuring your shots hit right where they're supposed to, every time.

First, understand that each click on your iron sights moves the point of impact by a specific distance, commonly referred to as MOA (Minute of Angle). The Carry Handle Rear Sight and A2 Rear Iron Sight from Ozark Armament, for example, provide 1/2 MOA per click adjustment. This translates to approximately 1/2 inch movement at 100 yards. When zeroing at 25m, each click on these sights will adjust your point of impact by about 1/8 inch. It's essential to know this to understand how many clicks to adjust M4 iron sights to correct your aim.

While making adjustments, refer to an M4 25m zero target for iron sights. These targets are designed to aid in precision adjustments and can be easily found online for print. A reliable resource for printing your own target is the National Shooting Sports Foundation (NSSF) website, an authority in firearms education and safety (NSSF Printable Targets). This will enable you to visually confirm the impact of your adjustments without guessing.

During this fine-tuning stage, remember to maintain a consistent shooting position and apply the fundamentals of marksmanship. Minor inconsistencies can throw off your zero, making it seem like your adjustments are ineffective. Whether you're adjusting windage (left to right movement) or elevation (up and down movement), patience and small, incremental changes are your allies.

For those using more advanced setups, Fixed Canted Iron Sights or 45 Degree Flip Up Backup Sights add versatility to your rifle, allowing for rapid transition between different shooting ranges. These sights can be fine-tuned in the same manner, ensuring that no matter your choice of iron sights, accuracy is within reach.

Step 8: Verifying Your Zero

Once you've gone through the adjustments and how to zero M4 iron sights, verifying your zero is a crucial step that can't be overlooked. It's all about ensuring that your adjustments are spot-on and that your rifle will hit where it's aimed, every time. This step involves firing groups of shots, observing the impact, and making any necessary changes.

First, I make sure to set up a new, clean M4 25m zero target for iron sights. This target helps me verify the accuracy of my zero at 25 meters, which is a standard initial distance for zeroing iron sights on an M4. It's readily available and you can easily download and print an iron sight zero target to use at your range.

Firing groups of three to five shots gives me a reliable average impact point to work with. If the group is off-center, I count how many clicks I need to adjust my iron sights. How to adjust M4 iron sights is straightforward, especially with options like the Ozark Armament A2 Rear Iron Sight or the HK Style BUIS, both known for their precision.

Just remember, each click moves the point of impact by 1/2 MOA (Minute of Angle), which translates to 1/2 inch at 100 yards. This basic math helps me adjust the iron sights accurately. Whether you're using the Carry Handle Rear Sight for windage adjustments or the A2 Front Sight for elevation, understanding how many clicks to adjust M4 iron sights is essential.

After making the necessary adjustments, I fire another group to check if my point of impact aligns with my point of aim. It's a repetitive process, but essential for achieving that perfect zero.

Throughout this process, I rely heavily on the stability and precision that Ozark Armament's sights provide. Their Fixed Canted Iron Sights and 45 Degree Flip Up Backup Sights offer flexibility for different shooting scenarios, ensuring that whether I'm at the range or in a tactical situation, I can trust my aim.

Common Myths About Zeroing M4 Iron Sights

m4 carry handle sight

When it comes to how to zero M4 iron sights, misinformation can be as common as the search for a reliable firearm accessory. My years of experience and research have crafted a comprehensive understanding of the myths and truths in the world of firearm accuracy. Armed with knowledge from credible sources and field-tested facts, I aim to debunk some common myths about zeroing M4 iron sights.

Myth 1: Any Iron Sight Will Do

One pervasive myth is that all iron sights are created equal. This couldn't be further from the truth. The quality and design of iron sights, such as those offered by Ozark Armament—including the Carry Handle Rear Sight, Battle Sights (BUIS), and HK Style BUIS—can significantly impact your zeroing accuracy. High-quality sights like the A2 Rear Iron Sight and 45 Degree Flip Up Backup Sights offer superior adjustability and durability, crucial for maintaining zero in varied conditions.

Myth 2: Zeroing is a One-Time Task

Another common misconception is that once you zero M4 iron sights, you're good to go indefinitely. But, maintaining accuracy requires regular checks and adjustments, especially if the firearm is used frequently, experiences rough handling, or after changing ammunition types. Understanding how to adjust M4 iron sights is essential for consistent performance. Each click on my Ozark Armament sights, for instance, allows for precise and predictable adjustments, essential for fine-tuning your aim.

For those looking to understand the specifics of adjustments, the m4 25m zero target for iron sights is an invaluable tool, offering a tangible way to measure and adjust zero. Here's an informative guide from the National Rifle Association (NRA) on zeroing sights, which complements the process nicely.

Essential Tips for Zeroing M4 Iron Sights

When it comes to zeroing M4 iron sights, there's a blend of science and art involved. I've spent countless hours on ranges, fine-tuning my skills and understanding the nuances of different iron sights. Whether it's the precision of Carry Handle Rear Sights or the convenience of Micro Flip Up Backup Sights, here are essential tips that'll guide you through the process.

Understand the Basics: Before diving into adjustments, it's crucial to grasp how iron sights work. The M4 iron sights consist of a front sight post and a rear aperture or notch. Zeroing these sights means aligning them so your point of aim equals your point of impact at a specific distance. Typically, zeroing is done at 25 meters, using an M4 25m zero target for iron sights, which is widely regarded as a reliable method.

Adjusting Your Sights: To adjust M4 iron sights, you'll need to know how many clicks to adjust m4 iron sights. For elevation adjustments on the front sight, use the A2 Front Sight tool. If the point of impact is too high, you'll need to raise the front sight post, which ironically lowers the bullet's impact point. Conversely, to lower the point of impact, you'll decrease the height of the front sight.

Windage adjustments are made on the rear sight, with most models, like the A2 Rear Iron Sight and HK Style BUIS, requiring a simple left or right movement. The key is remembering that each click moves the point of impact a predetermined distance at 100 meters - typically around 1/2 inch.

Practice and Patience: Zeroing iron sights on an M4 isn't a "set it and forget it" task. Variables like ammunition type, environmental conditions, and even the individual shooter can affect accuracy. It's important to practice regularly, using both commercial and mil-spec ammunition to understand how each performs with your sights. I recommend incorporating a mix, ensuring you're prepared for any scenario.

Wrapping Up

Mastering the art of zeroing M4 iron sights is a skill that demands attention to detail and a willingness to learn. I've shared the essentials on how to adjust for elevation and windage effectively, alongside the importance of choosing the right tools. Remember, practice makes perfect. The more you familiarize yourself with your rifle and how different ammo behaves, the better your accuracy will become. So, take your time, be patient, and keep honing your skills. With dedication, achieving that perfect zero will become second nature. Happy shooting.

Frequently Asked Questions

Why is understanding iron sights important for zeroing M4?

Understanding how iron sights work is crucial for zeroing the M4 because accurate alignment of the sights directly impacts shooting accuracy. Knowing how to adjust elevation and windage ensures the shooter can compensate for variables like ammunition type and environmental conditions.

How do I adjust the M4 iron sights for elevation?

To adjust the M4 iron sights for elevation, use the A2 Front Sight tool to rotate the front sight post. Turning the post clockwise will lower the point of impact, and counterclockwise will raise it. Make adjustments in small increments and test fire to check for accuracy.

What tools are needed to adjust M4 iron sights?

The primary tool needed for adjusting M4 iron sights is the A2 Front Sight tool. This tool allows for precise adjustments to the elevation on the front sight. For windage adjustments, the rear sight can typically be adjusted with a small screwdriver or a similar tool.

Why is practicing with different types of ammunition recommended?

Practicing with various types of ammunition is recommended because different bullets can behave differently when fired. Factors such as weight, shape, and propellant can affect trajectory and accuracy. Regular practice helps shooters understand how different ammunition types impact the performance of their M4 with zeroed iron sights.

How do environmental conditions affect zeroing an M4?

Environmental conditions, such as wind and temperature, can significantly affect the zeroing of an M4. Wind can push the bullet off course, requiring adjustments to windage to compensate. Temperature changes can affect the air density and bullet performance. Being aware of these conditions and adjusting accordingly is key to maintaining accuracy.

ARTICLE WRITTEN BY MATT RICE, OWNER OPERATOR OF OZARK ARMAMENT